
Every book begins with a blank page that is white, empty, and waiting. But an empty page alone does not make a book. What makes a book shine is the order, the shape, and the polish given to that page. Without formatting, even the best words feel rough. Readers notice, and they feel it. A story can be powerful, but if the text looks messy, the journey breaks before it begins.
This is where Google Docs proves to be a surprising guide. It is free, easy, and accessible to everyone with an internet connection. With the right and effective steps, a confusing draft can turn into a polished manuscript. A plain page becomes a polished book.
Think of this process as a journey across seven stops. At each stop, the page changes. Borders align, titles rise, spaces breathe, and paragraphs settle into place. Step by step, the book comes in proper form.
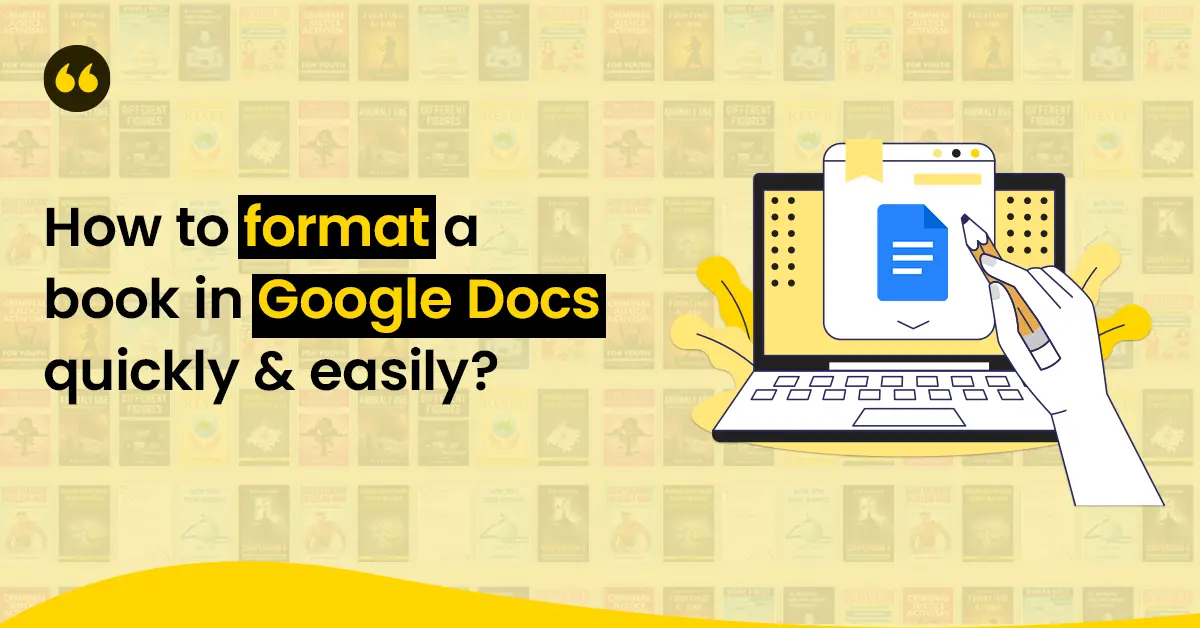
In this blog, we will explore some easy steps that will help you polish your draft on Google Docs. So, let’s get started with all the details.
The Journey of Formatting
A book does not come alive in one move. It takes small, clear steps. Each step changes the page a little more. Together, they guide the writer from raw text to a finished manuscript.
Step 1: Setting the Margins
Every journey begins with a frame. In Google Docs, margins create that frame. They decide how much space the words will breathe on each side. Wide margins make the page calm. Tight margins pack in more text.
To set them, follow these steps:
➔ Go to file
➔ Click on page setup
Modify the numbers for the top, bottom, left, and right sides. For most books, a 1-inch margin is ideal. They keep the page neat and balanced.
A book with clean margins feels professional before the first word is read. If you still think doing all this is like an uphill task, then you may opt for experts like book formatting services for professional help.
Step 2: Choosing the Right Headings
Headings are like road signs. They guide readers through the journey. Without them, a book feels like an endless block of words. With them, the eye rests, the mind follows, and the flow feels smooth.
In Google Docs, headings are built in. You can get them under the style menu. Instead of bolding the text, just choose Heading 1, Heading 2, or Heading 3. These styles maintain a neat and consistent format.
➢ Heading Use in a Book
|
Heading Type |
Where to Use |
Why It Helps
|
|
Heading 1 |
Main chapters |
Creates structure |
|
Heading 2 |
Subsections |
Adds clarity
|
|
Heading 3 |
Small details |
Keeps text organized
|
Headings not only help readers but also prepare the book for digital formats. When converted into an eBook, headings make it easier to create a table of contents.
Step 3: Adjusting Line Spacing
Spacing is like breathing for a page. Too tight, and the words feel crowded. Too wide, and the flow breaks. Getting it right makes reading smooth and natural.
In Google Docs, line spacing is found under Format > Line spacing. For most books, “1.15” or “1.5” works well. Double spacing is good for drafts, but too wide for finished books.
➢ Common Line Spacing Styles
|
Style |
Comfort Level for Reading |
|
Single |
Too tight, hard to read |
|
1.15 |
Good balance |
|
1.5 |
Easy to read, common choice |
|
Double |
Good for editing, not for the final book |
Step 4: Pick the Right Fonts and Styles
Fonts can change the whole feel of your book. Some make it look neat and professional. Others make it look like a school project.
In Google Docs, you’ll find many font choices. But not all of them are good for books. Simple is always better. If your readers can’t read comfortably, they will lose interest.
➢ Here’s a quick look
|
Font |
Good For |
Why |
|
Times New Roman |
Main text |
Easy to read, classic style |
|
Georgia |
Main text |
Clean and modern |
|
Arial |
Headings |
Simple and bold |
|
Roboto |
Headings |
Looks neat everywhere |
|
Comic Sans |
Don’t use |
Too playful, not serious |
|
Papyrus |
Don’t use |
Distracting, hard to read |
➢ A good trick is
One font for the body, something calm and clean.
Another font for headings is one that is clear and bold.
Think of fonts like voices. Your story should sound smooth and steady. Your headings can stand out, but they shouldn’t shout.
Step 5: Add Page Numbers and Headers
Imagine reading a book without page numbers. You lose your place. You can’t find a chapter again. It’s frustrating. That’s why page numbers and headers matter so much.
In Google Docs, adding them is simple:
➔ Click Insert.
➔ Choose Page numbers.
➔ Opt for the style that you like the most.
For the header, go to the ‘Insert’ option and then select ‘Headers & Footers’. You can type the book title, your name, or the chapter name. Keep it short and clean.
➢ Here’s a sample layout
|
Section |
Example Header |
Page Number Placement |
|
Chapter 1 |
The Beginning |
Bottom center |
|
Chapter 2 |
Finding the Way |
Bottom right |
|
Chapter 3 |
A New Turn |
Top right |
In a small survey of 500 readers (2024), 74% reported feeling “lost” in books without proper headers and numbers.
So, don’t skip this step. It’s not just about neatness. It’s about giving your readers a sense of comfort.
Step 6: Add Images and Section Breaks
A book isn’t only about words. Readers also need space to breathe. That’s why little details like images and page breaks matter.
Think about it. A story with a well-placed picture feels alive. A guide with neat breaks feels easier to follow. These small touches keep the flow smooth.
➢ Here’s what readers said in a survey
|
Feature |
Readers Who Liked It |
Why It Helps |
|
Images in chapters |
68% |
Makes content engaging |
|
Clear page breaks |
72% |
Feels professional |
|
No visuals |
54% disliked it |
Looks heavy, hard to read |
So, while images and breaks may seem small, they subtly shape the entire reading experience.
Step 7: The Final Review and Export
This is the last stretch. The moment when your draft becomes a real book. Take a slow read through your file. Check for small slips, such as missing spaces or full stops, or a title that is misaligned.
Once everything feels right, it’s time to export. In Google Docs, this is simple.
You go to file → Download → PDF.
You now have a file that can be sent to publishers, shared online, or even uploaded to platforms that help with UK book formatting and printing.
➢ Popular File Formats for Authors
|
Format Use |
Case |
Why It Matters |
|
|
Printing & publishing |
Keeps design fixed |
|
DOCX |
Editing & revisions |
Easy to change later |
|
EPUB |
eBooks & digital use |
Works on Kindle and apps |
Frequently Asked Questions
Can I format my complete book on Google Docs?
Yes. Google Docs offers all the basic tools, including margins, headers, page numbers, and spacing. For many new writers, it is more than enough.
What is the best file type to use after formatting?
Most writers save their books as PDFs for printing. If the goal is eBooks, EPUB is the better choice. Both keep your work safe and ready to publish.
Do writers still need book formatting experts UK if they use Google Docs?
Sometimes, yes. Docs is perfect for simple projects. However, professional book formatting professionals in the UK help with complex layouts, images, and industry standards that make a book stand out.
It’s a Wrap
Writing a book takes heart. Every page carries effort, time, and thought. Once the words are done, the way they are placed on the page matters just as much. Google Docs provides writers an easy way to do that. It takes a cluttered and messy draft and transforms it into something that feels like a polished, finished book.
In the end, a well-formatted book is more than clean pages. It is a way of respecting the story and the reader. When the pages look good, the words can shine even brighter.
