
Introduction
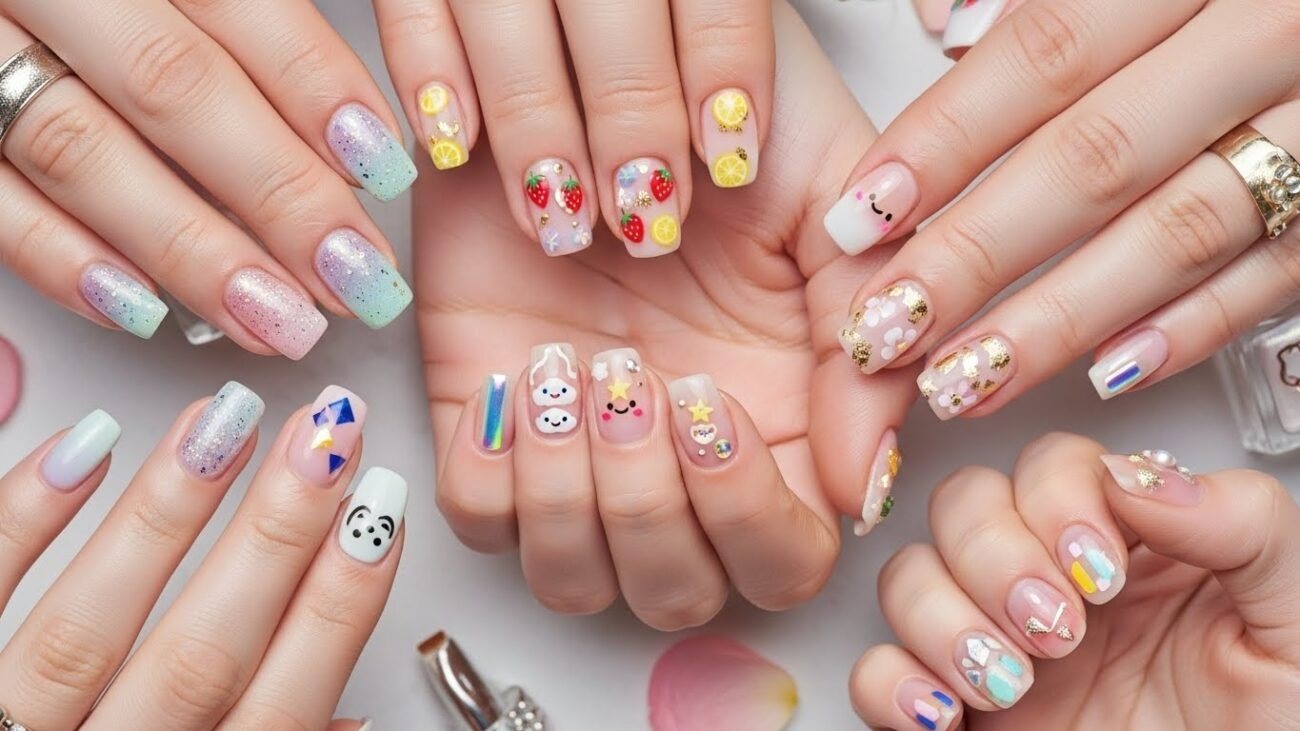
Today, in this article, we discuss Cute Nail Ideas. Nail art doesn’t have to be complicated or time-consuming. Even if you have a busy schedule, you can still give your nails a fresh, stylish look in just 10 minutes.
With the right techniques and a little creativity, simple tools, and nail polish, you can create fun and Cute Nail Ideas And designs at home. In this guide, we will explore easy, trendy, and cute nail ideas that are perfect for beginners and anyone who loves DIY nail art.
Why Quick Cute Nail Ideas Are Perfect for Everyone

Not everyone has time to sit for long nail appointments, and that’s completely okay. Cute Nail Ideas save time while still keeping your nails stylish. You can experiment with colours, patterns, and textures without worrying about complicated techniques.
Many people, from students to working professionals, love trying Cute Nail Ideas And nail art because it is relaxing, boosts confidence, and allows creativity to shine. Simple designs also reduce the chances of making mistakes, which makes them perfect for beginners.
Essential Tools for Quick Nail Art
Before diving into designs, it’s important to have the right tools. You don’t need a professional kit; just a few basic items can help you achieve beautiful results in minutes.
- Nail Polish: Choose at least 2–3 colours, including your favourite base shade and a contrasting colour for designs.
- Dotting Tool or Toothpick: Perfect for creating dots, tiny hearts, or other patterns.
- Nail Stickers or Tape: Great for precise lines or quick patterns.
- Top Coat: Keeps your design shiny and long-lasting.
- Cotton Pads & Nail Polish Remover: For cleaning mistakes quickly.
Having these essentials ready will save time and reduce stress while working on your nails.
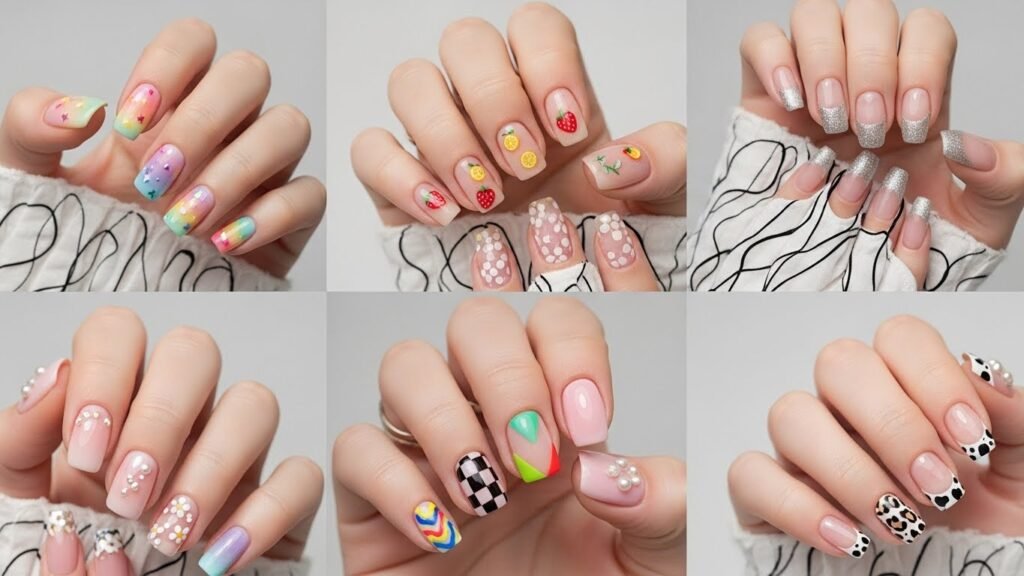
Cute and Easy Nail Ideas to Try in 10 Minutes
1. Polka Dot Nails
Polka dots are timeless, simple, and instantly Cute Nail Ideas.
- Apply a base colour of your choice.
- Use a toothpick or dotting tool to add small dots in a contrasting colour.
- Finish with a clear top coat.
Tip: Keep the dots evenly spaced to make them look neat. You can also experiment with random dot patterns for a fun twist.
2. Striped Nails
Stripes add a playful or chic look depending on the colours you choose.
- Paint your nails with a solid base colour.
- Use nail tape or a thin brush to draw stripes.
- Let it dry and seal with a top coat.
You can go for horizontal, vertical, or even diagonal stripes. Soft pastel stripes give a cute and casual look, while metallic or bright stripes make nails pop for parties.
3. Minimalist Heart Nails
Hearts are classic and perfect for any age.
- Paint nails with a light or neutral base colour.
- Use a toothpick or dotting tool to make two small dots side by side and drag them down to form a heart shape.
- Add a top coat for shine.
You can place hearts only on accent nails for a subtle, cute effect.
4. Glitter Accent Nails
If you want a quick glam effect, glitter nails are your best friend.
- Paint nails with a neutral or pastel colour.
- Choose one or two nails to apply glitter polish.
- Seal everything with a top coat.
This style is perfect when you are short on time but still want an elegant and Cute Nail Ideas.
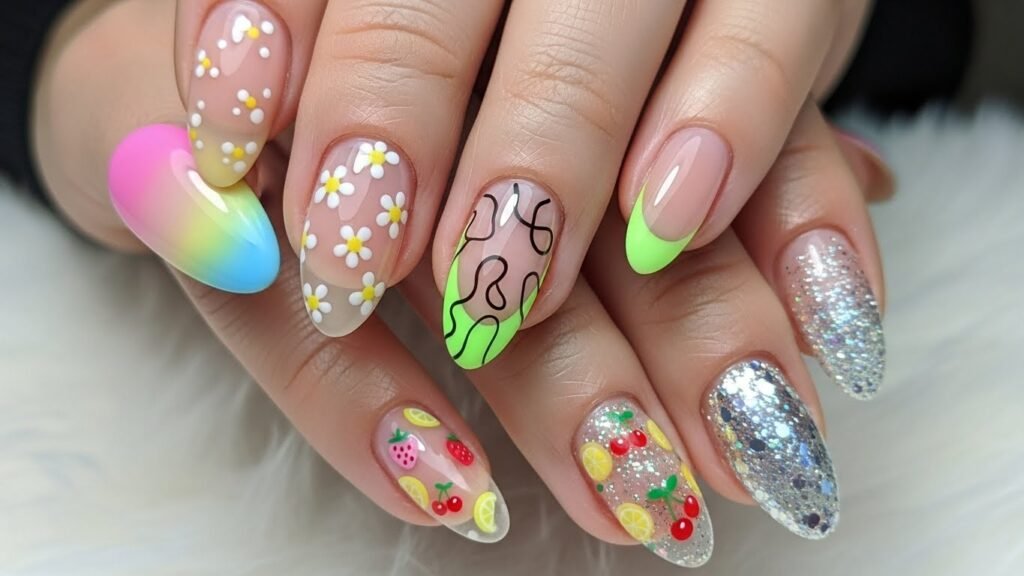
5. Ombre Nails
Ombre nails are trendy and can be done in a few minutes with a sponge.
- Choose two or three colours that blend well.
- Dab the sponge on your nails gently to create a gradient effect.
- Finish with a top coat.
Even simple pastel gradients look stylish and feminine.
6. Fruit-Inspired Nails
For a fun and playful look, try fruit designs like strawberries, cherries, or lemons.
- Paint your nails a light base colour.
- Use a toothpick to draw small fruit shapes on accent nails.
- Add tiny details like seeds or leaves.
- Finish with a clear top coat.
This design is perfect for summer or casual outings and is surprisingly easy to do at home.
7. Negative Space Nails
Negative space, Cute Nail Ideas, use your natural nail as part of the design.
- Apply nail tape in simple shapes like triangles or lines.
- Paint around the tape and carefully remove it after drying.
- Seal with a top coat.
This creates a clean, modern, and cute look that’s perfect for beginners.
8. Simple Floral Nails
Flowers always look feminine and fun.
- Apply a base colour.
- Use a dotting tool to make five dots for the petals and a dot in the centre for the flower.
- Add a top coat for shine.
You can keep the flowers minimal for a subtle effect or cover all nails for a vibrant look.
Creative Nail Designs Using Everyday Items
Did you know you can create uniqueCute Nail Ideas with items found at home? These methods are fast, fun, and surprisingly effective.
- Sponge Gradient Nails: Dab a small piece of sponge into nail polish to create gradient or ombre effects.
- Sticker Art: Use cute stickers like stars, flowers, or emojis for instant designs.
- Foil Accents: Tear tiny pieces of aluminium foil and stick them on nails with clear polish for a metallic touch.
These methods require minimal skill and offer a professional-looking finish without visiting a salon.
Seasonal And Cute Nail Ideas
Nail designs can also reflect the seasons. Here’s how you can quickly adapt your nails for each season.
| Season | Nail Idea | Colors/Style Tips |
|---|---|---|
| Spring | Floral accent nails | Pastels, tiny flower stickers |
| Summer | Bright and fruity nails | Yellow, orange, watermelon patterns |
| Autumn | Leaf designs | Browns, oranges, deep reds |
| Winter | Snowflake or glitter nails | White, silver, deep blue shades |
Seasonal designs not only look festive but also make your nails stand out effortlessly.
Tips for Perfect At-Home Nail Art
Even simple designs can look messy without proper techniques. Here are tips to help your nails look polished:
- Prep Your Nails: Clean, shape, and buff nails before applying polish.
- Thin Layers: Apply two thin coats instead of one thick coat to avoid smudging.
- Allow Drying Time: Give each layer 1–2 minutes to dry before the next.
- Use a Quick-Dry Top Coat: This reduces the chance of smears and adds shine.
- Practice Makes Perfect: Don’t be discouraged if your first attempt isn’t perfect. Nail art improves with time.
Real-Life Example: DIY Nail Success
Meet Ayesha, a college student who struggled to find time for salon visits. She started using simple nail ideas like polka dots, heart accents, and glitter tips. In just 10 minutes per hand, she created stunning nails that matched her outfits and boosted her confidence.
Her success story shows that with patience, basic tools, and creativity, anyone can enjoy cute nails at home. It’s also a reminder that DIY nail art is not just convenient—it’s empowering.
Pros and Cons of DIY Cute Nails
Understanding the benefits and limitations of at-home nail art can help set realistic expectations:
Pros:
- Saves money compared to salon visits.
- Customizable designs to match mood or occasion.
- Quick, usually under 10 minutes.
Cons:
- May require practice for clean results.
- Limited tools compared to professional salons.
- Designs may chip faster if not sealed properly.
By weighing pros and cons, you can enjoy DIY nails responsibly and efficiently.
Popular Colour Combinations for Cute Nail Ideas
Choosing the right colours can enhance the charm of your nails. Here are some popular combinations:
- Pastel Pink + White: Soft, feminine, and classic.
- Mint Green + Gold: Fresh and trendy.
- Red + Nude: Bold yet subtle.
- Blue + Silver Glitter: Fun for parties or casual outings.
- Yellow + Orange: Vibrant, perfect for summer.
Experimenting with different combinations can make your nails unique and expressive.
Balancing Fun and Care
While experimenting with cute nail ideas, it’s important to remember nail health:
- Don’t peel off polish aggressively; use proper removers.
- Take short breaks between designs to let nails breathe.
- Moisturise your cuticles and hands to prevent dryness.
- Avoid overusing glitter or gel polish to minimise nail damage.
This approach ensures you can enjoy Cute Nail Ideas without compromising nail health.
Essential Tools You Need at Home
Even if you are aiming for easy designs And Cute Nail Ideas, having the right tools makes a big difference. Here’s a small checklist:
| Tool | Purpose | Tips |
|---|---|---|
| Nail file | Shape your nails | Use gentle strokes to avoid splitting |
| Base coat | Protect nails and make polish last longer | Choose a fast-drying base |
| Nail polish | Main color for your design | Pick 2-3 complementary shades |
| Dotting tool or toothpick | Make dots or small designs | Can also use bobby pins |
| Top coat | Seal the design | Adds shine and prevents chipping |
| Nail stickers or tape | Easy patterns and lines | Perfect for beginners |
| Quick-dry drops or spray | Speeds up drying | Helps avoid smudges |
Even without all these tools, you can still do many simple designs using only nail polish and a toothpick.
Quick, Cute Nail Ideas and Art Techniques You Should Know
Here are some techniques that save time and look impressive:
- Dotting: Perfect for polka dots and floral accents.
- Stamping: Nail stamping kits allow detailed designs in seconds.
- Freehand Drawing: Simple lines or shapes using a toothpick or brush.
- Gradient/Ombré: Sponge blending for a professional look.
- Glitter Placement: Apply glitter at the tips or randomly for sparkle.
Mastering a few of these techniques can help you create endless cute nail ideas at home.
Common Mistakes to Avoid
Even with quick designs, mistakes can ruin the effect. Avoid these common pitfalls:
- Applying thick polish layers that smudge easily.
- Skipping nail prep and moisturising cuticles.
- Not using a top coat leads to chipping and fading.
- Rushing the design without giving polish time to dry.
- Overcomplicating patterns, which can look messy on small nails.
By being mindful of these mistakes, your DIY nails will last longer and look professional.
Step-by-Step Quick Nail Routine
- Prep Your Nails – Wash hands, trim nails, and file the edges.
- Apply Base Coat – Protects nails and smooths the surface.
- Choose Your Design – Pick one cute idea or mix multiple ones.
- Paint the Nails – Use thin layers to avoid smudging.
- Add Details – Dots, stripes, or stickers.
- Seal With Top Coat – Adds shine and longevity.
- Dry Quickly – Use quick-dry drops or a fan if needed.
By following these steps, even beginners can get salon-like results in 10 minutes.
Tips for Making Your Nails Last Longer
- Use Thin Layers: Thick polish takes longer to dry and chips easily.
- Seal Tips: Swipe top coat over nail edges to prevent peeling.
- Avoid Water Right After: Wait 15–20 minutes before washing hands extensively.
- Moisturise: Healthy nails hold polish better.
- Store Polish Properly: Keep in a cool, dry place to maintain quality.
By following these simple habits, your Cute Nail Ideas will stay fresh longer.
FAQs About Cute Nail Ideas
Q1: Can I do cute nail designs without professional tools?
A1: Absolutely! Toothpicks, tape, sponges, and stickers can create beautiful designs quickly.
Q2: How long do DIY nails last at home?
A2: With a top coat and careful handling, DIY nails can last 3–5 days.
Q3: What colours are best for beginners?
A3: Neutral and pastel shades are easiest, while bright colours can be used for accents.
Q4: How can I fix smudges quickly?
A4: Use a cotton swab dipped in nail polish remover to correct mistakes, then reapply a top coat.
Q5: Can I use these ideas for short nails?
A5: Yes! Simple dots, lines, and glitter tips work beautifully on short nails.
Conclusion
Cute Nail Ideas don’t have to be complicated or time-consuming. With a few tools, a bit of creativity, and some practice, you can create fun, stylish, and charming nails at home in just 10 minutes. Whether you prefer polka dots, heart accents, glitter tips, or seasonal designs, there’s a DIY option for everyone.
By embracing simple techniques and experimenting with colours, you can enjoy the satisfaction of professional-looking nails without leaving your home. Start small, be patient, and have fun with your designs. Your nails are a canvas waiting for your creativity.
Pro Tip: Keep a small nail art kit handy and set aside just 10 minutes a week. You’ll be surprised how much joy a quick, Cute manicure can bring. Ours is in a salon. Remember to balance style with nail health, and enjoy the process of experimenting with colours, patterns, and textures. Quick nail designs And Cute Nail Ideas can make every day feel a little more special, playful, and stylish.
