

The WHEA_UNCORRECTABLE_ERROR is one of Windows’ most frustrating blue screen errors, often appearing without warning and leaving users scrambling for solutions. This hardware-related error occurs when your system’s Windows Hardware Error Architecture (WHEA) detects a critical hardware malfunction that it cannot automatically correct.
Unlike software-related blue screens, WHEA_UNCORRECTABLE_ERROR typically points to underlying hardware issues. The error can stem from faulty RAM modules, overheating processors, corrupted drivers, or even power supply problems. Understanding the root cause is essential for implementing an effective fix.
This comprehensive guide walks you through proven troubleshooting methods for how to fix whea_uncorrectable_error, from simple quick fixes to advanced diagnostic techniques. Whether you’re dealing with intermittent crashes or persistent system failures, these step-by-step solutions will help restore your Windows system’s stability.
Quick Fixes to Try First
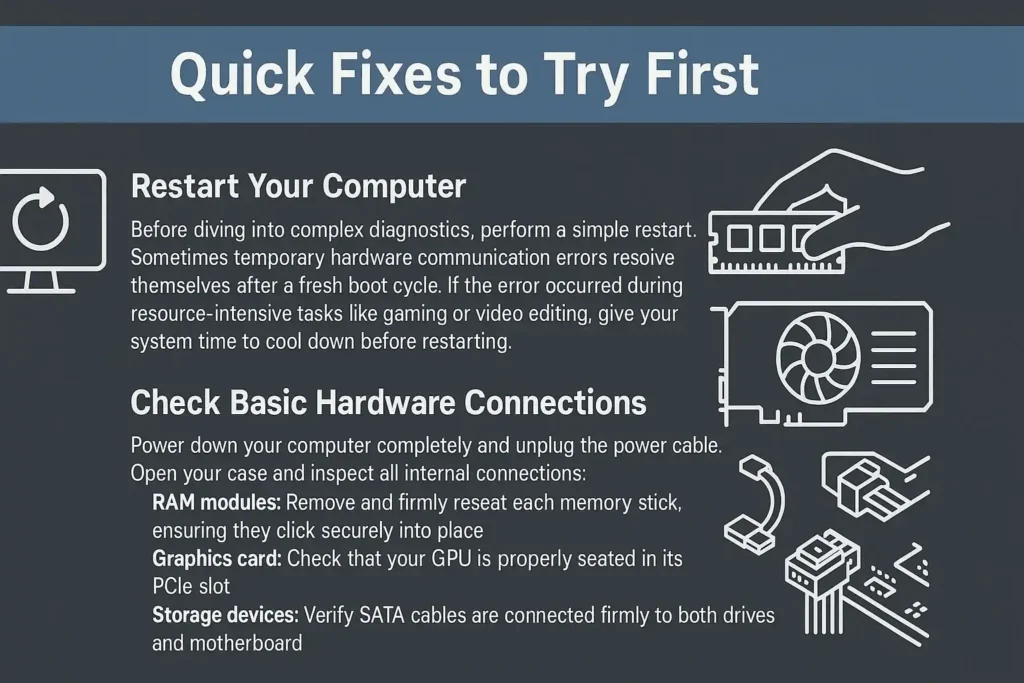
Restart Your Computer
Before diving into complex diagnostics, perform a simple restart. Sometimes temporary hardware communication errors resolve themselves after a fresh boot cycle. If the error occurred during resource-intensive tasks like gaming or video editing, give your system time to cool down before restarting.
Check Basic Hardware Connections
Power down your computer completely and unplug the power cable. Open your case and inspect all internal connections:
- RAM modules: Remove and firmly reseat each memory stick, ensuring they click securely into place
- Graphics card: Check that your GPU is properly seated in its PCIe slot
- Storage devices: Verify SATA cables are connected firmly to both drives and motherboard
- Power connectors: Ensure all power cables are fully inserted, including the 24-pin motherboard connector and CPU power cable
One common scenario involves loose RAM modules causing intermittent WHEA errors. A user experiencing random crashes during web browsing discovered that one RAM stick had partially unseated over time due to thermal expansion. Simply reseating the memory resolved the issue completely.
Standard Troubleshooting Steps
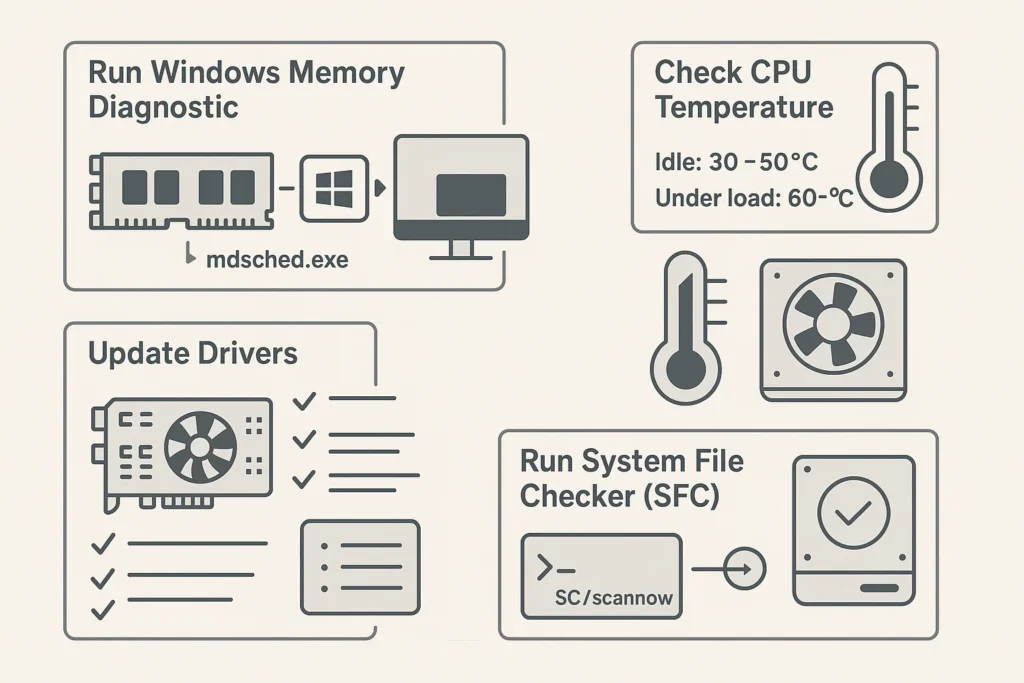
Run Windows Memory Diagnostic
Faulty RAM is a leading cause of WHEA errors. Windows includes a built-in memory diagnostic tool that can identify problematic memory modules.
- Press Windows key + R, type “mdsched.exe” and press Enter
- Select “Restart now and check for problems”
- Your computer will restart and run a comprehensive memory test
- After completion, check the results in Event Viewer under Windows Logs > System
Schedule this test during off-peak hours since it requires a system restart and can take 20-30 minutes depending on your RAM capacity. If errors are detected, you’ll need to identify and replace the faulty memory module.
Update Drivers
Outdated or corrupted drivers frequently trigger WHEA errors, particularly graphics and chipset drivers. NVIDIA GPUs and AMD CPUs are commonly associated with driver-related WHEA errors.
For example, users with NVIDIA graphics cards often experience WHEA errors after Windows updates install generic display drivers. The solution involves downloading the latest drivers directly from NVIDIA’s website rather than relying on Windows Update.
To update drivers safely:
- Visit your hardware manufacturer’s official website
- Download the latest drivers for your specific model
- Uninstall old drivers using Device Manager
- Install fresh drivers and restart your system
Avoid third-party driver update utilities, which may install incompatible versions.
Check CPU Temperature
Overheating processors can trigger hardware errors as thermal protection mechanisms activate. Use monitoring software like HWMonitor or Core Temp to track temperatures during both idle and load conditions.
Safe temperature ranges:
- Idle: 30-50°C
- Under load: 60-80°C (depending on CPU model)
If temperatures exceed these ranges, check that your CPU cooler is properly mounted with adequate thermal paste application. Clean dust from heatsinks and ensure case fans are functioning correctly.
Run System File Checker (SFC)
Corrupted system files can interfere with hardware communication, potentially causing WHEA errors. The System File Checker scans for and repairs damaged Windows files.
- Open Command Prompt as Administrator
- Type “sfc /scannow” and press Enter
- Allow the scan to complete (this may take 30-60 minutes)
- Restart your computer after completion
Run SFC when no other intensive tasks are active to minimize interference and ensure accurate results.
Check Disk for Errors
Storage device problems can manifest as WHEA errors, particularly with Seagate HDDs that develop bad sectors over time. Run the built-in disk checking utility:
- Open File Explorer and right-click your system drive (usually C:)
- Select Properties > Tools > Check
- Choose “Scan and repair drive”
- For system partitions, schedule the check to run on next startup
Advanced Troubleshooting Steps

Check Event Viewer
Event Viewer provides detailed information about hardware events preceding WHEA errors. This diagnostic data helps identify specific failing components.
- Press Windows key + R, type “eventvwr.msc” and press Enter
- Navigate to Windows Logs > System
- Look for critical errors or warnings around the time of your WHEA error
- Note any hardware-related error codes or device names mentioned
Disable Overclocking
Overclocked systems are particularly susceptible to WHEA errors when operating beyond stable parameters. If you’ve overclocked your CPU, GPU, or RAM, revert to default settings:
- Enter BIOS setup during boot
- Load default/optimized settings
- Disable any XMP profiles for RAM
- Save changes and exit
One user resolved persistent WHEA errors by disabling their XMP profile, which had been running their RAM at speeds higher than the motherboard could reliably support.
Check Power Supply
Insufficient or unstable power delivery can cause hardware instability leading to WHEA errors. A faulty PSU was identified in one case where voltage testing revealed power fluctuations during high-demand scenarios.
Signs of PSU problems:
- Random crashes during gaming or rendering
- System instability when multiple components are active
- Unusual electrical noises from the PSU
If you suspect PSU issues, test with a known-good power supply or consult a technician for voltage testing.
Run Driver Verifier
Driver Verifier identifies problematic drivers that may be causing system instability:
- Open Command Prompt as Administrator
- Type “verifier” and press Enter
- Select “Create standard settings”
- Choose “Automatically select all drivers installed on this computer”
- Restart your system
Driver Verifier will monitor driver behavior and generate detailed crash dumps if issues are detected.
BIOS Settings and Updates
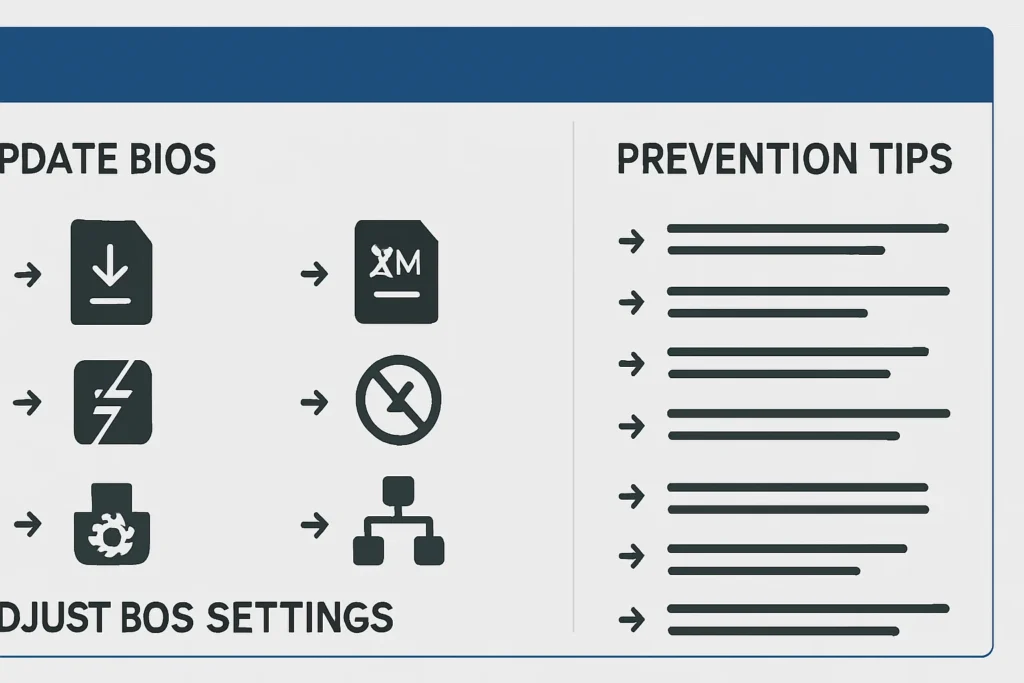
Update BIOS
ASUS motherboards commonly require BIOS updates to resolve hardware compatibility issues causing WHEA errors. Exercise extreme caution when updating BIOS:
- Download the latest BIOS from your motherboard manufacturer’s website
- Ensure stable power supply (use UPS if available)
- Follow manufacturer instructions precisely
- Never interrupt the update process
Adjust BIOS Settings
Several BIOS settings can affect system stability:
- Disable XMP Profile: Run RAM at standard speeds instead of overclocked profiles
- Disable Fast Boot: Can resolve startup hardware conflicts
- Restore Default Settings: Eliminates potentially problematic manual configurations
- Check Boot Order: Ensures proper startup sequence
Prevention Tips
Implementing these preventive measures reduces the likelihood of future WHEA errors:
Regular Maintenance:
- Update drivers quarterly from manufacturer websites
- Monitor hardware temperatures monthly using diagnostic software
- Perform disk checks and file system scans every few months
- Keep BIOS updated for optimal hardware support
Hardware Considerations:
- Ensure adequate cooling for all components
- Use a quality surge protector to prevent power fluctuations
- Avoid overclocking unless you have proper cooling and expertise
- Verify power supply capacity matches your system’s requirements
Environmental Factors:
- Maintain stable room temperatures
- Protect systems from dust accumulation
- Avoid exposing computers to extreme humidity
- Implement reliable backup solutions for data protection
FAQ About how to fix whea_uncorrectable_error
What exactly does the WHEA_UNCORRECTABLE_ERROR mean?
This error indicates that Windows Hardware Error Architecture detected a critical hardware problem that cannot be automatically corrected, requiring manual intervention.
How do I know if my hardware is causing the WHEA error?
Run Windows Memory Diagnostic, check Event Viewer for hardware-related errors, and monitor system temperatures. Hardware problems often show patterns related to specific activities or temperature thresholds.
Can overclocking cause the WHEA_UNCORRECTABLE_ERROR?
Yes, overclocking beyond stable parameters frequently causes WHEA errors. Try reverting to default clock speeds to test stability.
Is it safe to update my BIOS, and how do I do it?
BIOS updates are generally safe when performed correctly. Ensure stable power supply, download from official sources, and never interrupt the update process.
What should I do if the memory diagnostic test fails?
Memory test failures indicate faulty RAM. Test each module individually to identify the problematic stick, then replace it.
When Professional Help Is Needed
If these troubleshooting steps don’t resolve your WHEA_UNCORRECTABLE_ERROR, the issue may require professional diagnosis. Complex hardware failures, particularly involving motherboard or CPU problems, often need specialized testing equipment and expertise.
Consider professional assistance when multiple hardware components seem involved or when you’re uncomfortable performing advanced diagnostics. Remember that attempting repairs beyond your skill level can potentially cause additional damage.
For storage-related WHEA errors, check our guides on What Is Platter Damage and The Request Failed Due to a Fatal Device Hardware Error for additional troubleshooting resources.
